Guest List & QR Codes
Upload your guests, then share one QR code on your invitations so they can open your RSVP page.
Upload your guest list
Download the guest list CSV template from your event. Use one row for each invitation and enter the main guest’s full name in the Name column. You can also add their email address or mobile number if you have it.

Add everyone in the group
Enter the other invited adults in Party Members and any invited children in Child Members. If there is more than one name in either column, separate the names with a semicolon (;). Keep everyone sharing an invitation on the same row.
For example, if Jane Doe is invited with John Doe and their children Mia and Leo, enter Jane Doe in Name, John Doe in Party Members, and Mia Doe;Leo Doe in Child Members.
Upload and share your QR code
Save the CSV and upload it to your event’s guest list. Then download your event’s QR code and add it to your invitations. Everyone scans the same QR code to open the RSVP page, find their invitation and respond for their group.
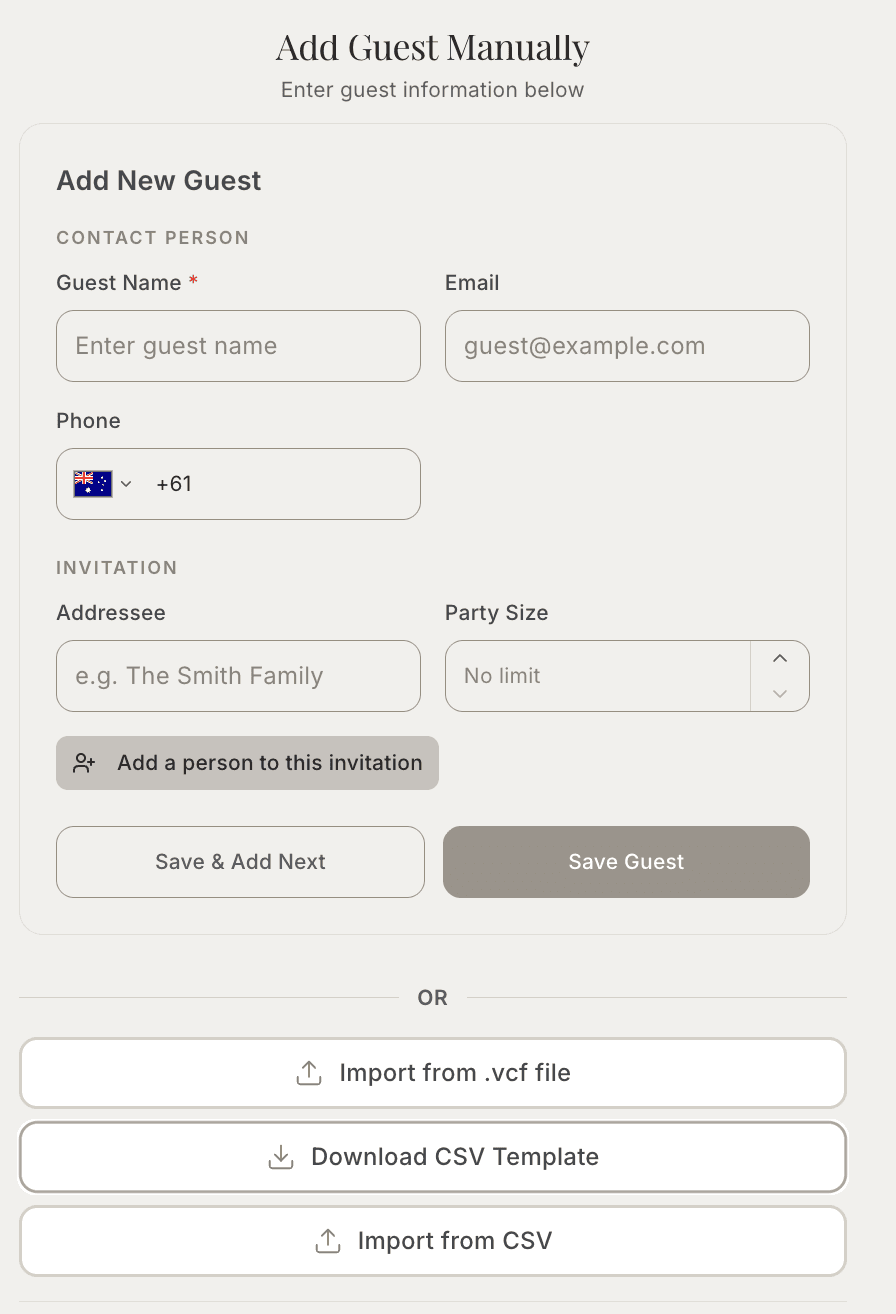
Add guests manually
If you prefer, you can enter the main guest directly in your guest list and add the other people invited with them before saving.
How your guests respond
When guests scan the QR code on their invitation, they are taken directly to your RSVP page. They enter their full name to find their invitation and select the matching name from the results.
Confirming the invitation
After entering their name, guests enter the email address or mobile number connected to the invitation. RSVPeasy uses this information to confirm their identity and make sure they are responding to the correct invitation.
If more than one guest has a similar name, RSVPeasy will display the matching invitations and ask, “Which invitation is yours?” Guests can select their invitation from the list before continuing.
Once their details are matched, they will be asked, “Is this your invitation?” They can select “Yes, this is me” to confirm their identity and open the invitation.
Responding for the group
Once the invitation is confirmed, guests can see everyone included in their group. They can respond for each person by selecting whether they are attending or not attending. If enabled, they can also answer questions such as dietary requirements, adult or child status, or any custom questions you have added.
Adding another guest
If you have allowed additional guests, the main guest can add another person to their group during the RSVP process. If you have uploaded specific names, only those guests will appear on the invitation.
Reviewing their response
After submitting their RSVP, guests see a confirmation message with their response. If guest editing is enabled and the RSVP period is still open, they can return to the RSVP page later to update their details.
How responses appear to you
Each response is automatically recorded in your guest list. You can see who has responded, who is attending, who is not attending and which guests are still pending, all from your event dashboard.